
Creative Exposure
Exposure is a pretty common topic when it comes to still or motion cameras. I would say that the majority of the time, exposure is taught in a very rigid manner; aka the camera must be properly exposed, and there’s no room for creative interpretation. In recent years, the technique that’s being taught to reach said “proper exposure” is expose to the right, left and or middle. Each method acts as a means to negate certain negative effects of digital cameras. If you expose to the left, you protect your highlights from clipping, but if you expose the right, your image will have cleaner shadows. And if you expose to the middle, this is deemed “proper exposure.“

Funnily enough, this “technical” approach, while it seems savvy, is rather surface-level and simplistic at its core. Instead of a plethora of exposure possibilities, the photographer or cinematographer is relegated to three exposure options as they wing the shutter speed dial or aperture wheel to one side or the other to fit into one of them. This is like three separate bakers. One throwing a bunch of sugar into a cake without measuring it and then another baker throwing a bunch of salt into a cake without measuring it. The final one throws in a little bit of both with no measurements either. I find this approach rather unimpressive, and to be flying by the seat of one’s pants.
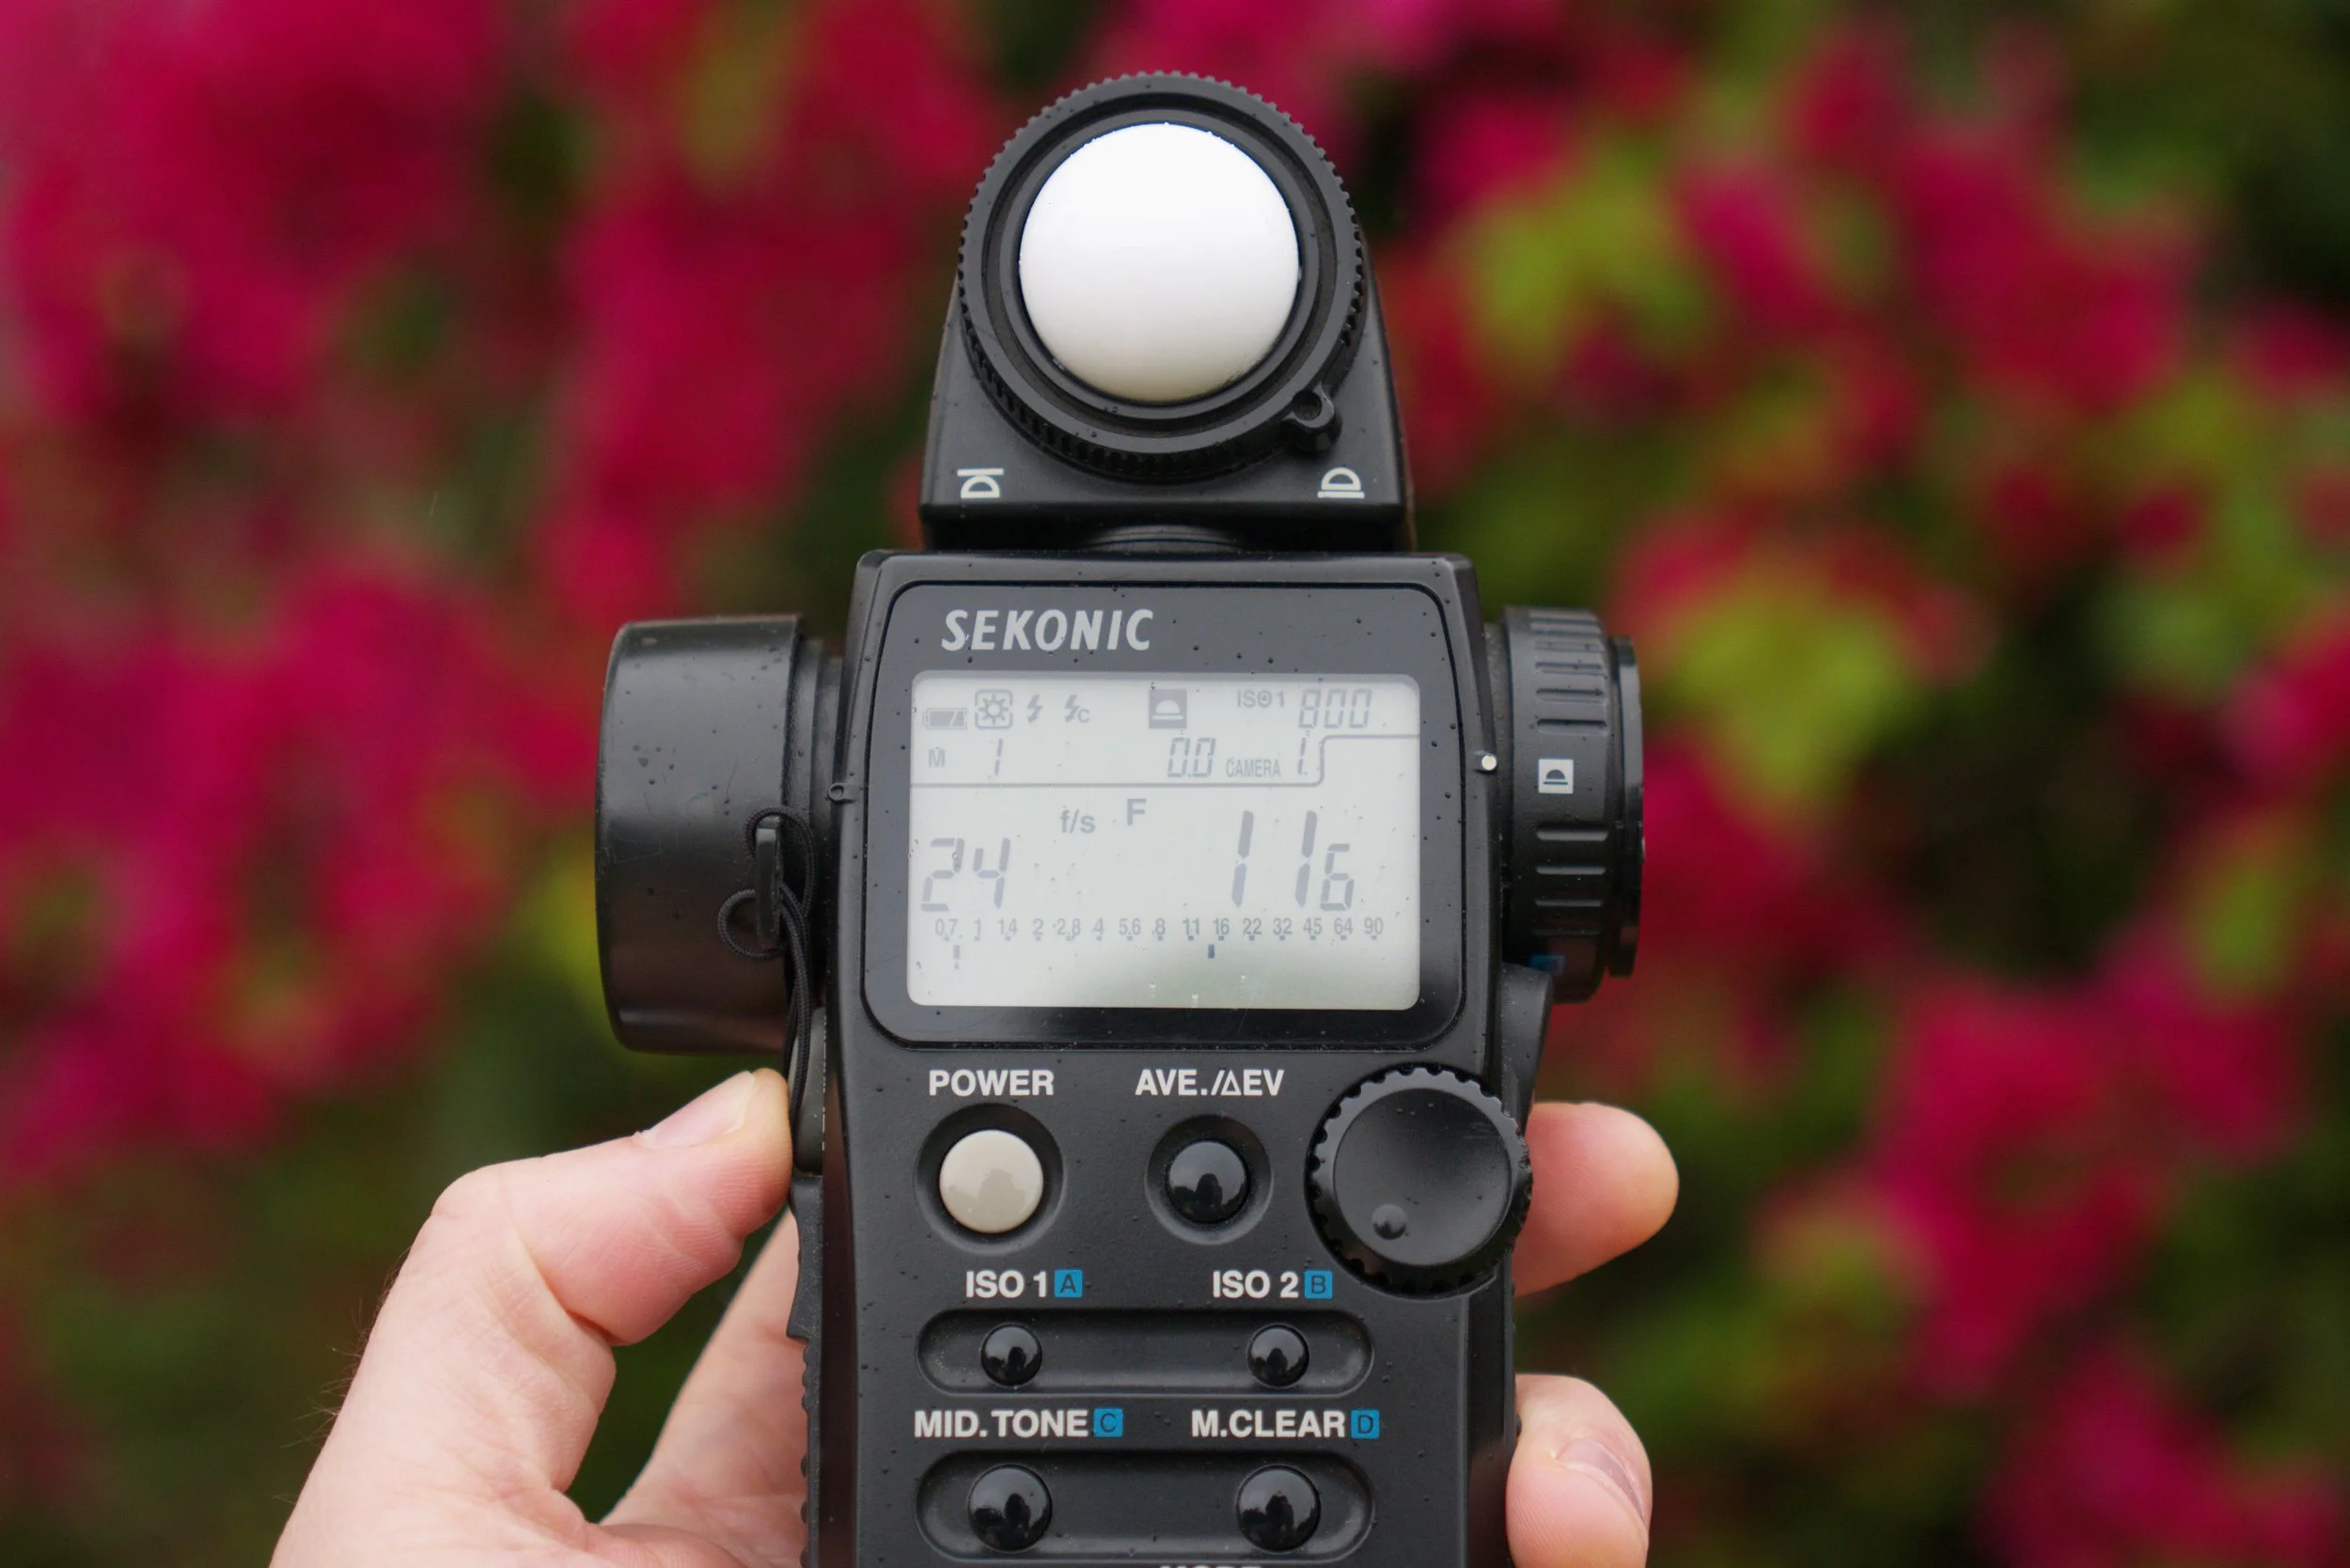
This is where creative exposure comes in to save the day; a method that allows the cinematographer way more technical control over every part of the image by exposing the camera in repeatable mathematical increments rather than broad strokes. The meter can read light in whole, half-stop increments and more, providing the freedom to choose exposure options that can be recorded down and repeated like a recipe.
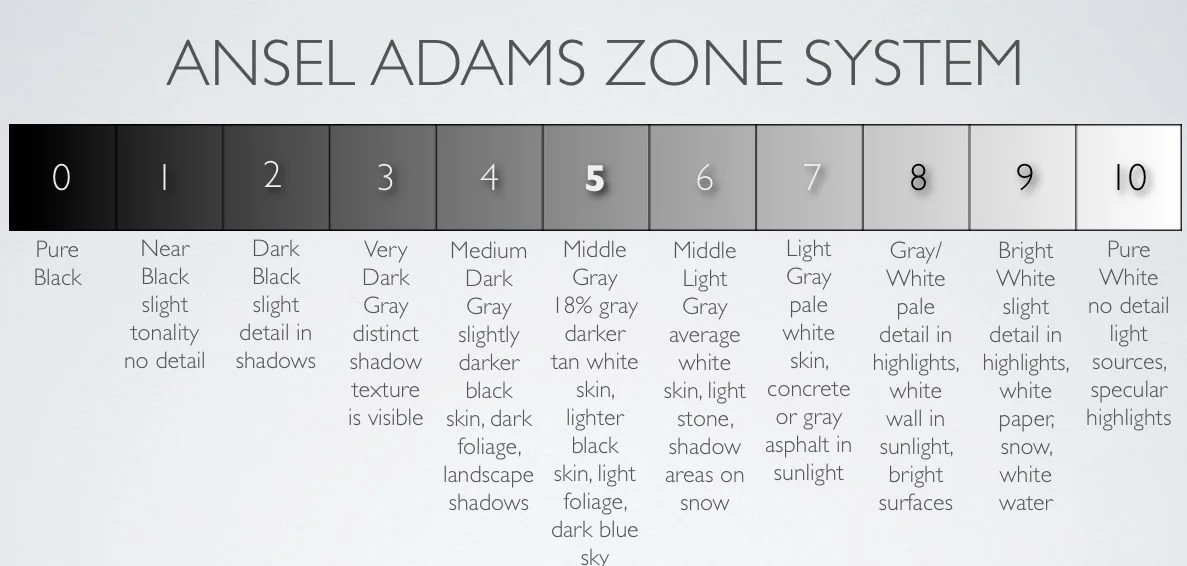
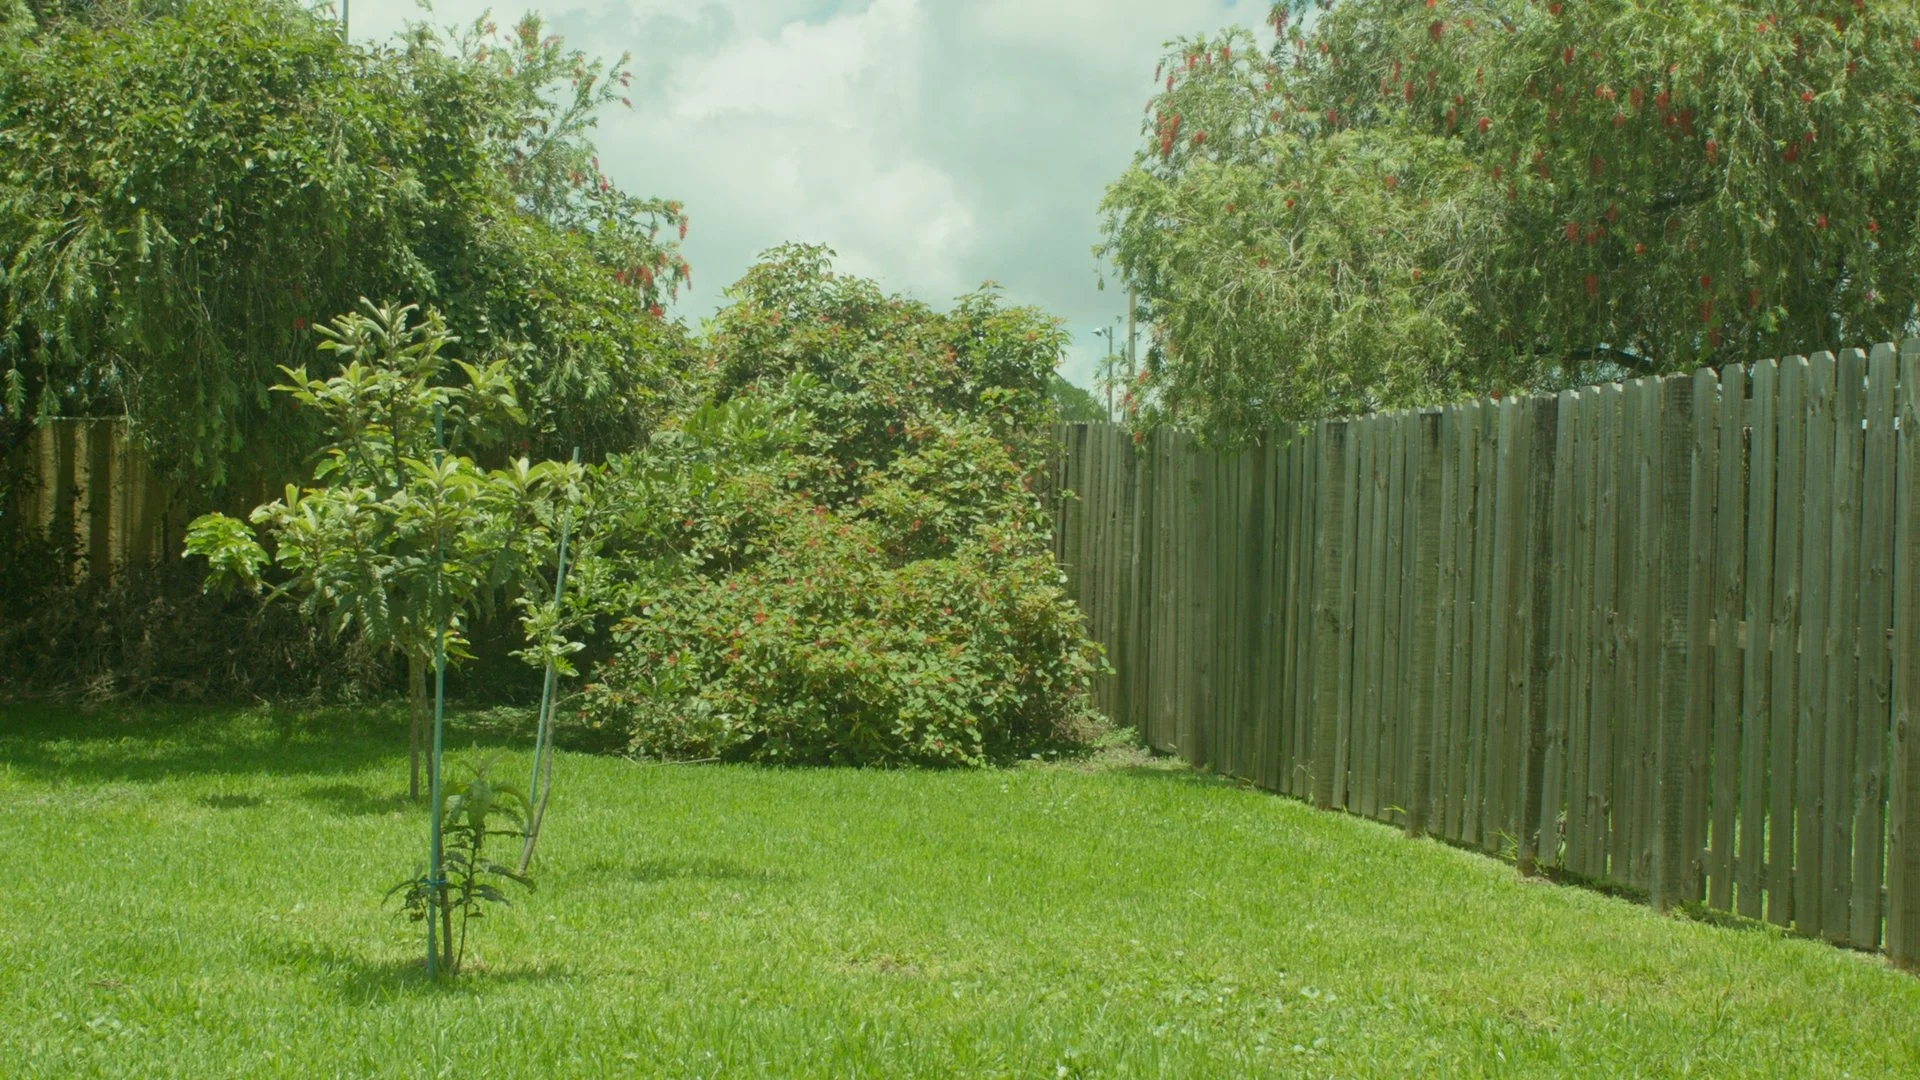
The exposure you choose is to aid the story you are telling rather than fitting a mold. For example, let’s say that I’m photographing foliage in a green field, and I want the image to look lush because that’s the story. Well… I would expose at 18% middle gray, otherwise known as a balanced, neural exposure.
Source: Speckund.com
Without an in-depth explanation, just know than light meters are calibrated to always reach 18% middle gray, and if the number on your lens matches up with the number on the meter, this equals middle of the road exposure. In this case, I exposed 1/2 a stop over 18% middle gray because I wanted to see into my shadows a tad more, something that I wouldn’t be able to do in the expose the left, right and center system.
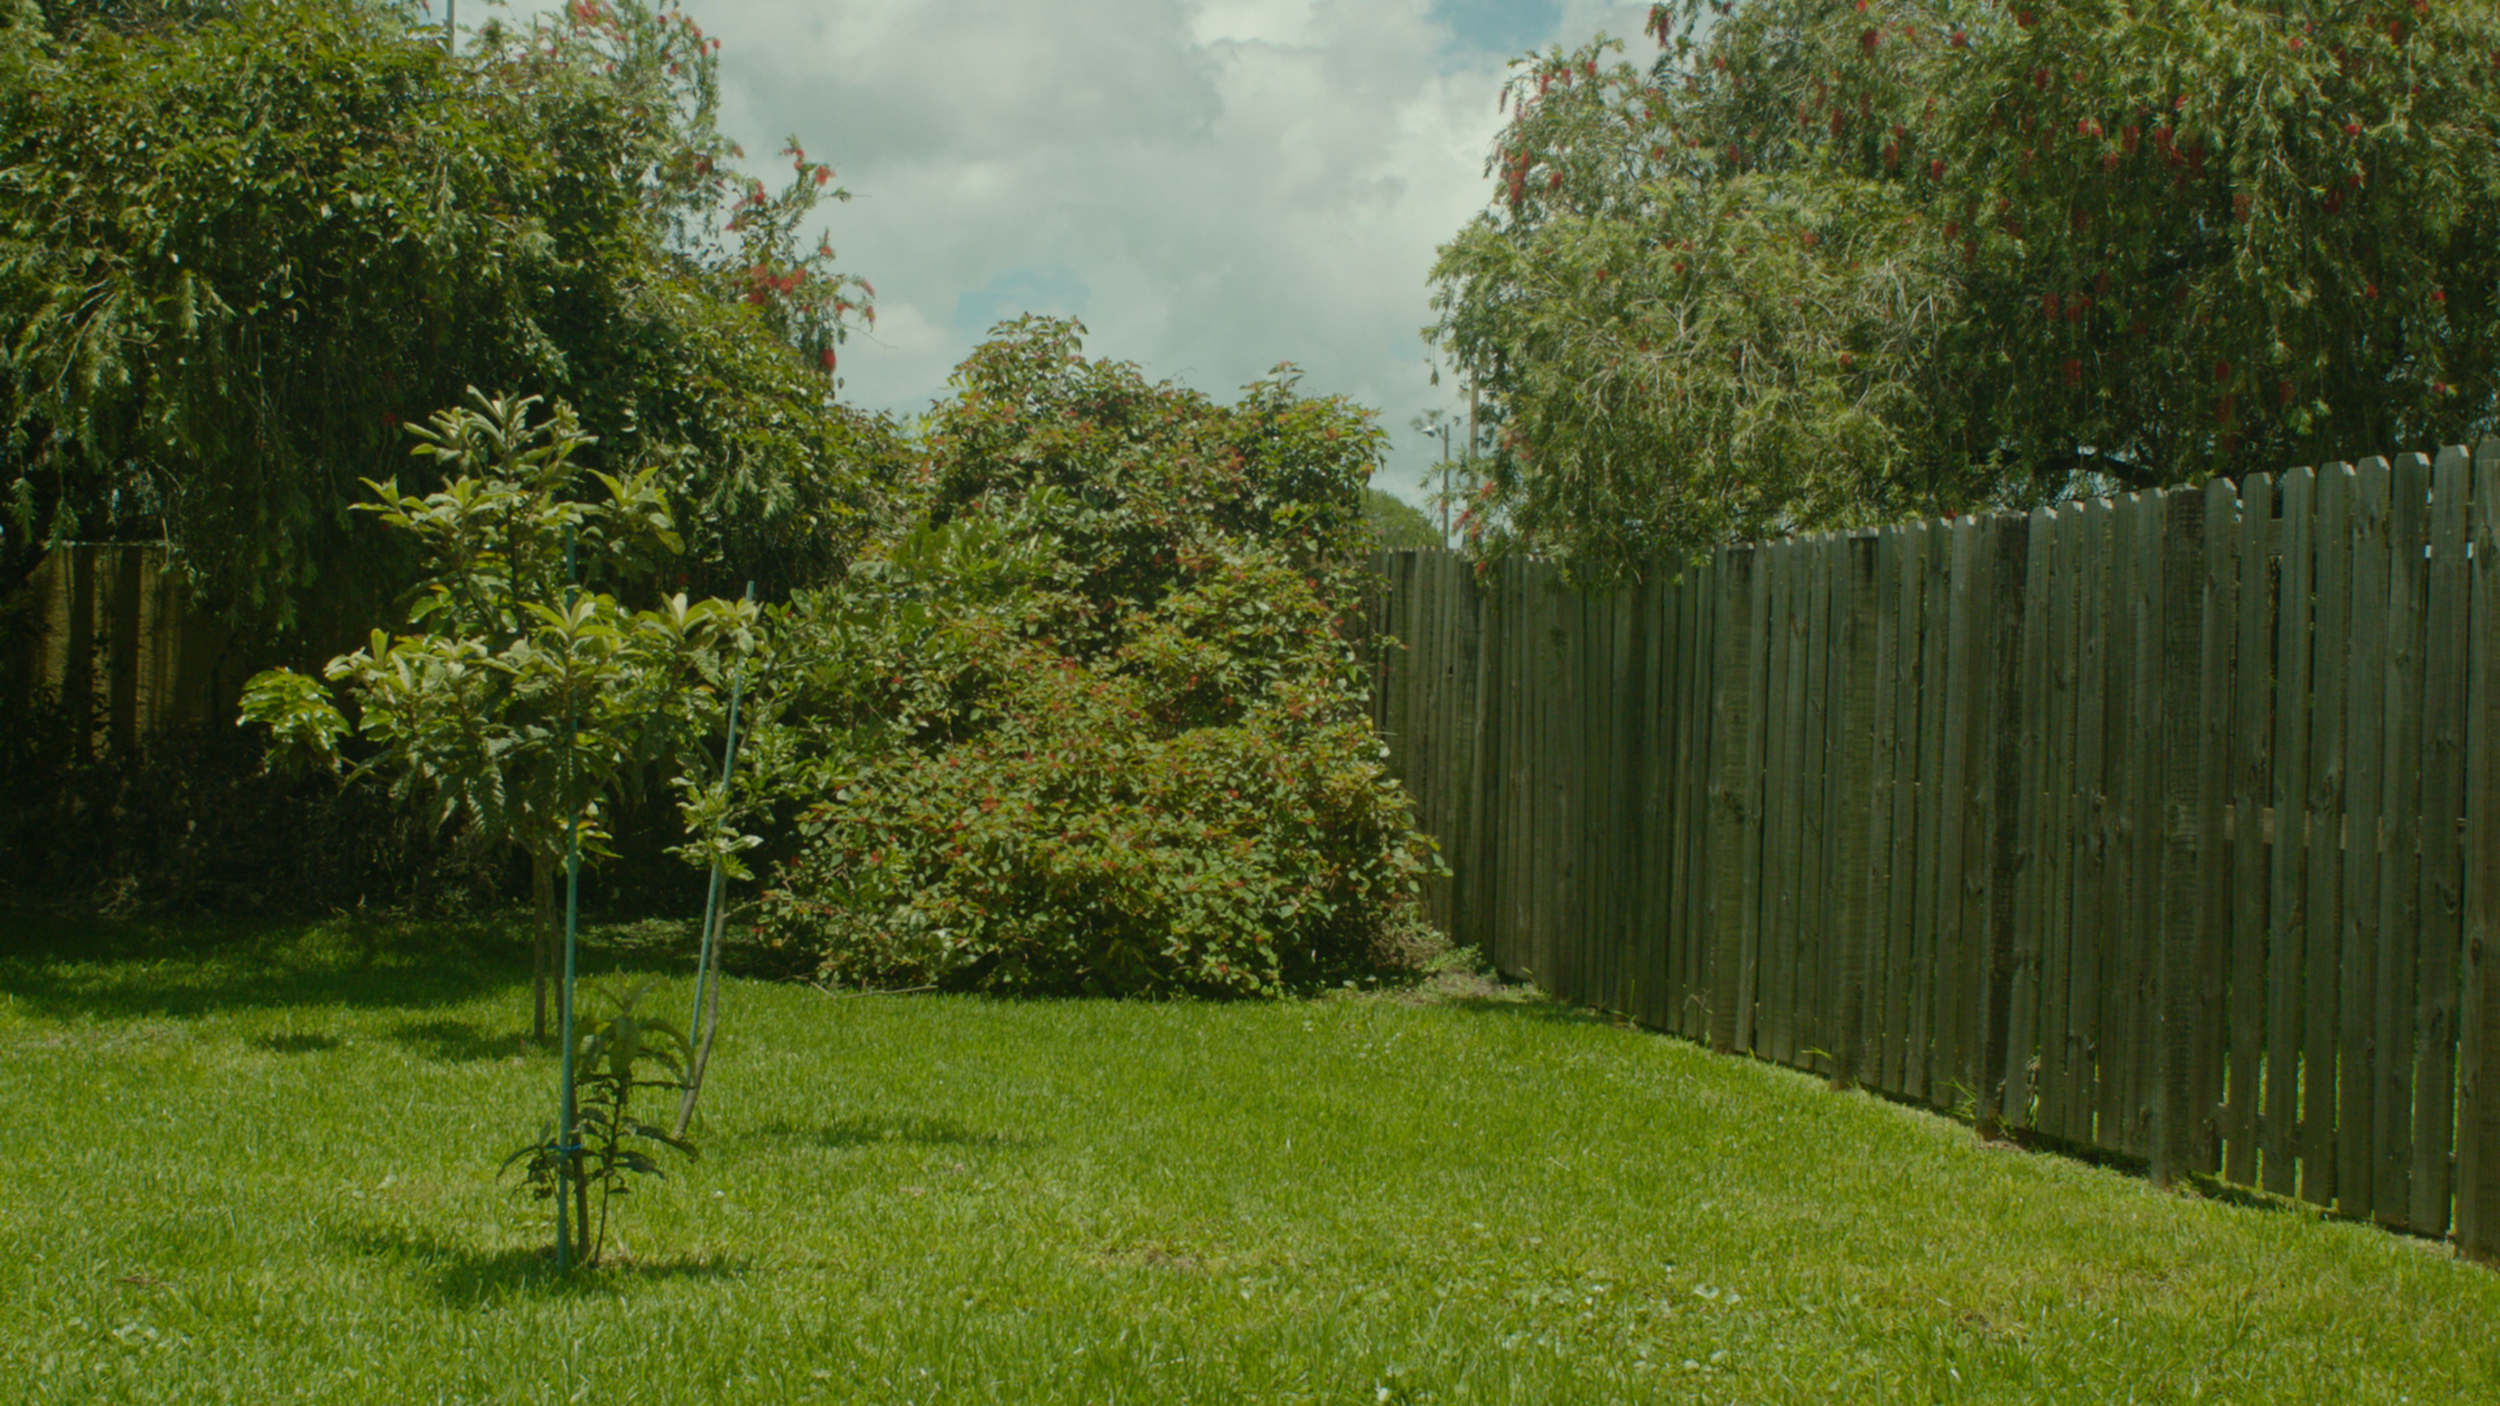
The meter read at an f11, and I shot at an 8/11 split.
Let’s say I took that same scene, and I wanted to make it look dried out and dusty. Well, I could over expose the image by 2 stops, and the image would definitely look hot and dry.
My ND 0.6 was swapped for an ND 0.3, and the meter read at an f11.
To further drive the point home, here’s another example of what I just showed you but from the movies “Hostiles” and “True Grit”.
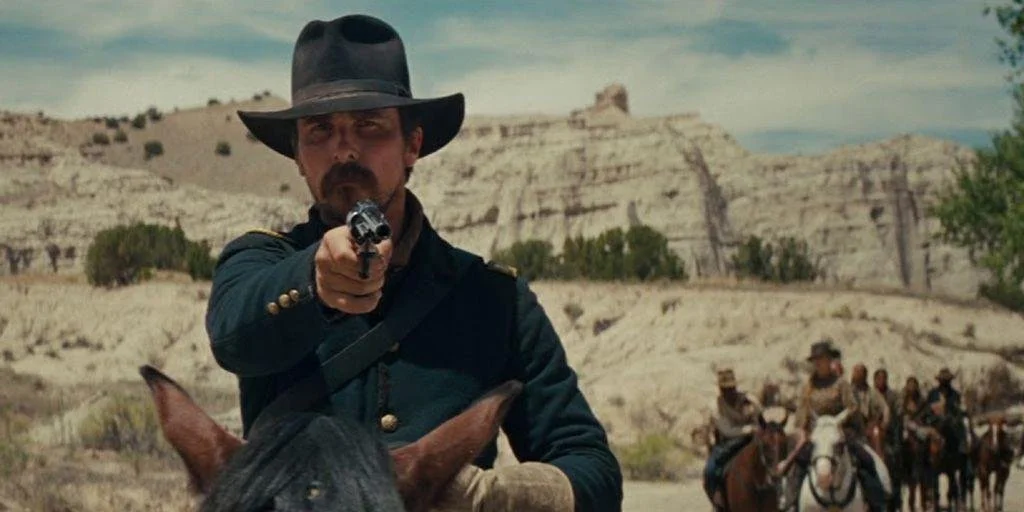
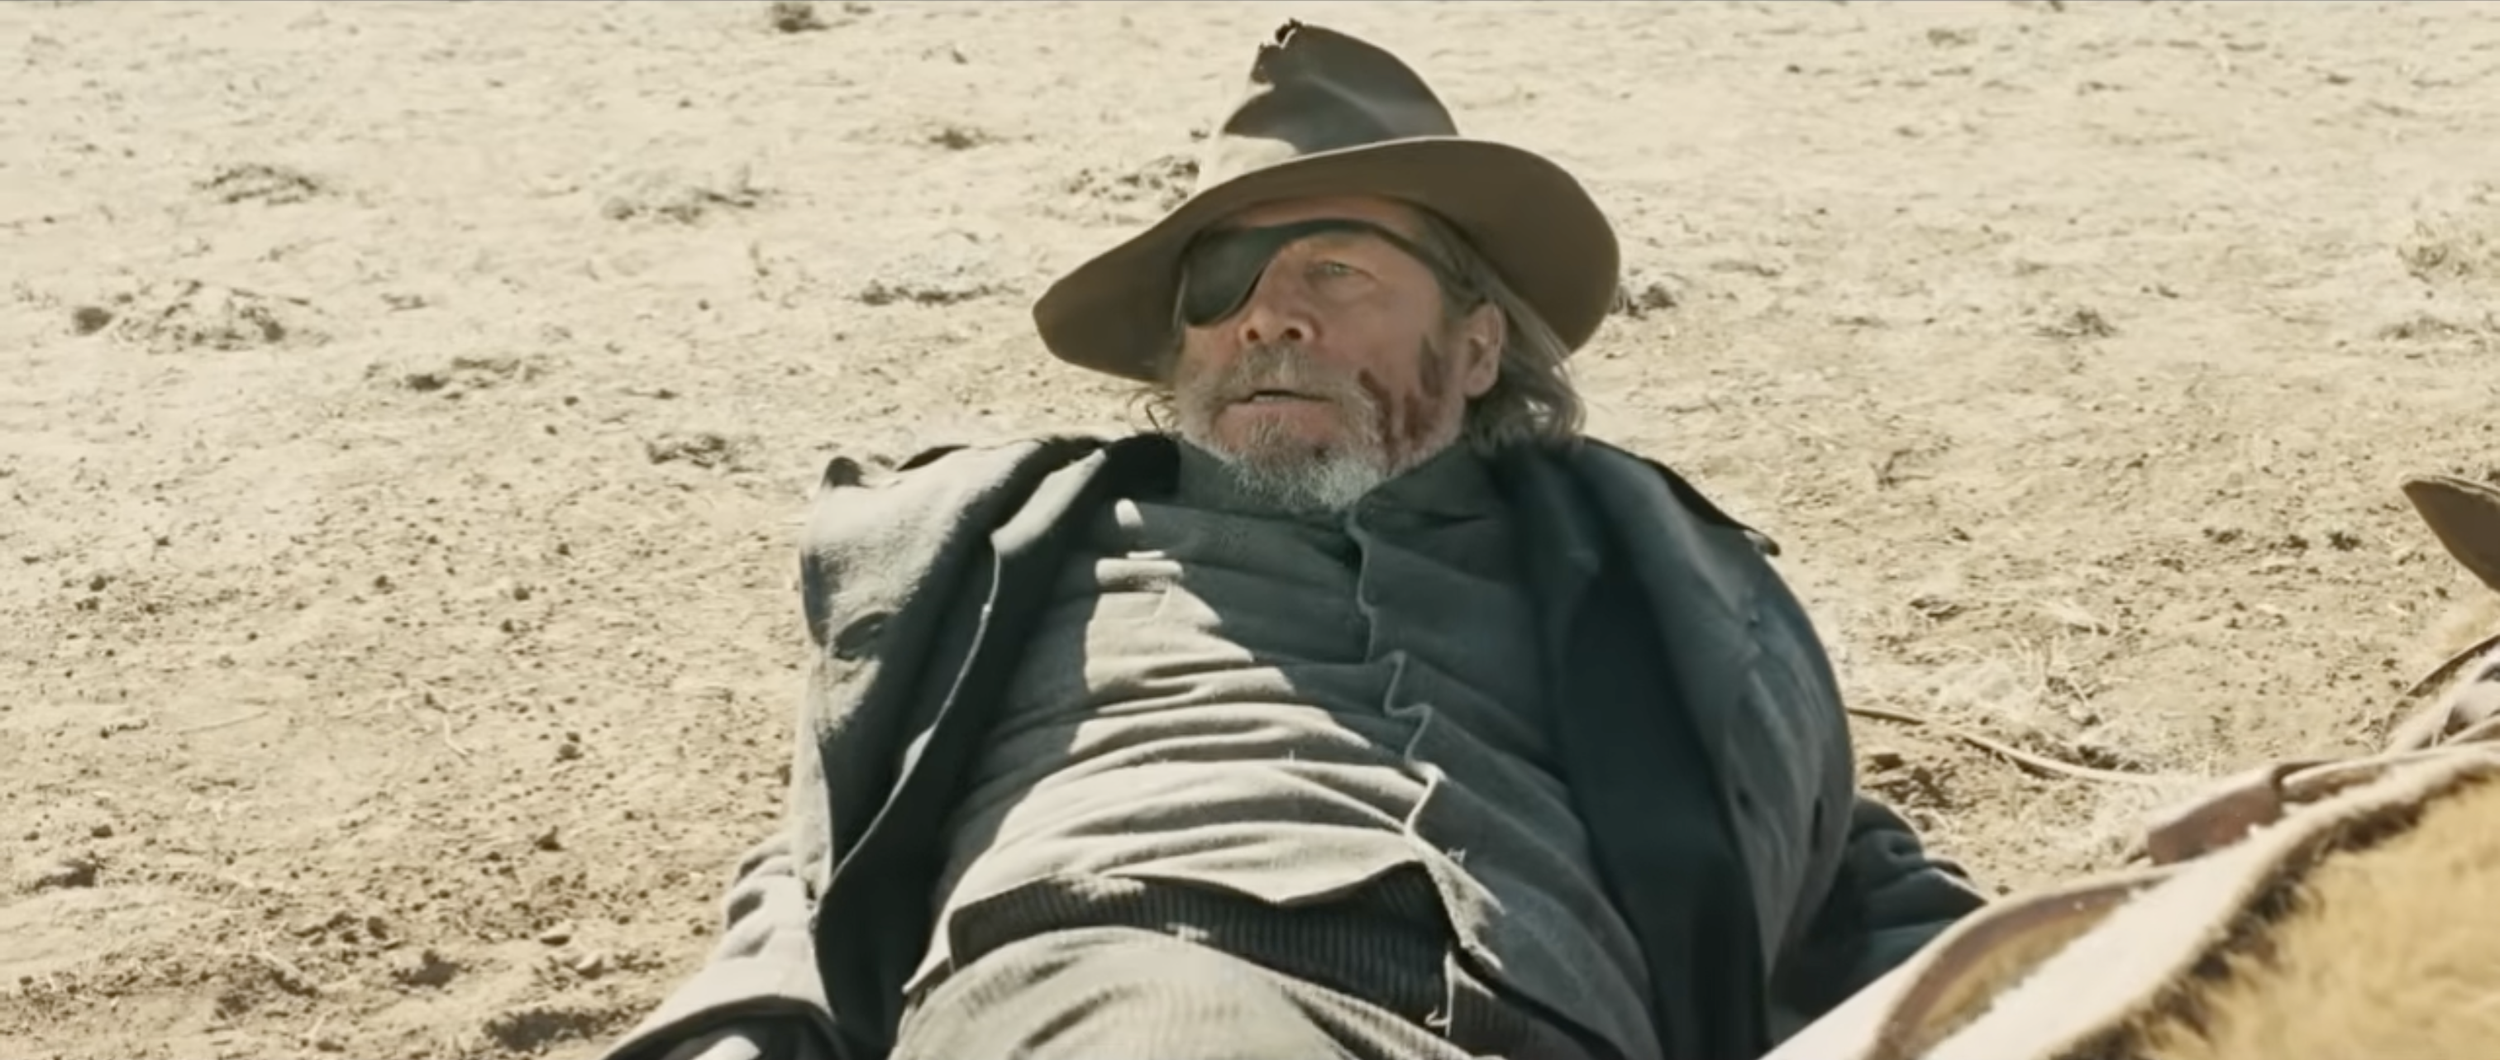
As you can see, these are two separate movies with very similar backgrounds, yet each is exposed differently. One is close to 18 percent middle gray, and the other looks to be over exposed by about one and a half to two stops.
This is the power of creative exposure. You can have the same scene, expose it multiple ways, and each will tell the viewer a different story.